
Instagram Food Photography: 8 Tips for Better Photos
Great Instagram food photography comes down to light, angle and simplicity — not expensive gear. A phone, a window and a little styling can produce photos that stop the scroll and make people hungry. Below are the practical tips that make the biggest difference, in the order they matter.
Whether you shoot for a restaurant, a food blog or your own feed, these fundamentals work on any camera. Once your photo is ready, finish the post with a caption from our free Instagram caption generator.
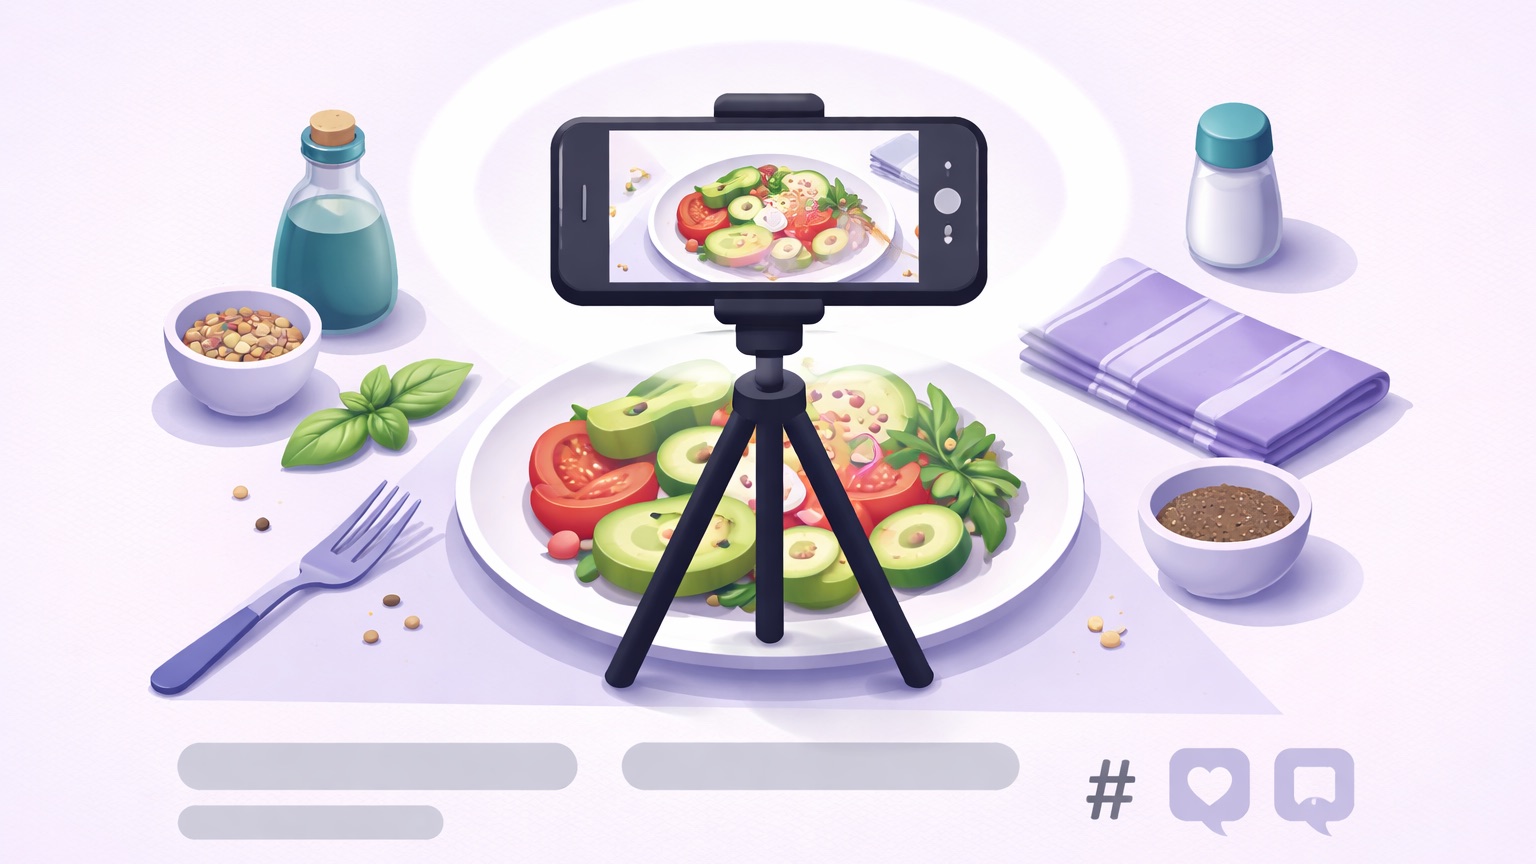
1. Use natural light — always
Light is the single biggest factor in food photography. Shoot near a window with soft, indirect daylight, and turn off overhead and artificial lights, which cast yellow or orange tones. Avoid harsh direct sun, which creates hard shadows; if it’s too bright, diffuse it with a sheer curtain. Side light and backlight make food look three-dimensional and appetising, while flat front light makes it look dull.
2. Choose the right angle for the dish
Different foods suit different angles:
- Overhead (90°): best for flat lays, bowls, spreads and tables — anything where the top view tells the story.
- Straight on (0°): best for tall food — burgers, layered cakes, drinks — to show height and layers.
- Three-quarter (45°): the natural “sitting at the table” angle that works for most plates.
Try all three for the same dish and keep the one that makes it look most tempting.
3. Keep composition simple
Let the food be the hero. Use the rule of thirds — place the dish slightly off-centre — and leave some negative space so the image can breathe. Turn on your phone’s gridlines to help. Fill the frame enough that the food is clear, but don’t crowd it with clutter. A clean composition reads instantly, even at thumbnail size.
4. Style with intention
A little styling goes a long way. Add a few props that support the story — a fork, a napkin, a couple of ingredients, a hand reaching in — but keep them minimal and relevant. Wipe drips off the plate, arrange garnishes deliberately, and shoot fresh: food looks best in the first few minutes before it wilts or melts. Odd numbers of items and a touch of movement (a sprinkle, a pour) add life.
5. Mind the background and surface
The surface sets the mood. Neutral, textured backgrounds — wood, stone, linen, matte ceramics — keep attention on the food. Avoid busy patterns and shiny surfaces that reflect light awkwardly. A consistent set of backgrounds also helps your feed look cohesive, which matters as much as any single photo.
6. Get your phone settings right
- Tap to focus on the main part of the dish, then adjust exposure slightly down to protect highlights.
- Turn off the flash — it flattens food and shifts colours.
- Clean your lens; a smudge softens the whole image.
- Use a tripod or steady surface in low light to keep shots sharp.
- Shoot at the highest quality your phone allows, and avoid heavy digital zoom — move closer instead.
7. Edit for appetite, not filters
Good editing enhances; it doesn’t disguise. In a free app like Snapseed or Lightroom Mobile, gently lift brightness, add a little contrast, and correct white balance so whites look white, not yellow. Boost saturation only slightly — over-saturated food looks fake. Keep a consistent editing style across posts so your feed feels like one brand. Avoid heavy preset filters that turn every dish the same colour.
8. Shoot in batches for consistency
Photographing several dishes in one session, in the same light and style, keeps your feed cohesive and saves time. Capture a mix — hero shots, close-ups, overhead spreads and a few candid moments — so you always have content ready. For laying multiple shots out well, see our guide to the Instagram photo dump.
A simple setup that always works
If you remember nothing else: place the dish near a window with soft daylight, shoot from the angle that flatters it, keep the background clean, take a few frames, and edit lightly. That five-step routine beats any expensive lens used badly. Pair the photo with a strong food caption and the right tags, and post consistently.
Put it to work
Photography is one half of a strong food account; strategy is the other. Once your images look great, see how to turn them into visits in our guide to how restaurants grow on Instagram, and browse more food content ideas for what to shoot next.
Frequently asked questions
Do I need a professional camera for food photography?
No. A modern phone is more than enough for Instagram. Light, angle, styling and editing matter far more than the camera. Master those with your phone first, and only consider a dedicated camera if photography becomes a core part of your work.
What is the best lighting for food photos?
Soft, indirect natural daylight near a window. Turn off overhead and artificial lights to avoid colour casts, and diffuse harsh sun with a sheer curtain. Side and back light make food look dimensional and appetising, while flat front light makes it look dull.
What angle is best for food photography?
It depends on the dish: overhead for flat lays and bowls, straight on for tall food like burgers and drinks, and a three-quarter view for most plates. Try all three and keep whichever makes the food look most tempting.
Which app is best for editing food photos?
Free apps like Snapseed and Lightroom Mobile give you enough control over brightness, contrast, white balance and saturation. Edit gently to enhance the food’s real colours, and keep a consistent style across posts so your feed looks cohesive.
Get weekly Instagram trends in your inbox
We send the top 10 trending Reels every Monday — formats, audio, hashtags, examples. Free, no spam.